Wednesday, August 28, 2019

Photography Tips

#photography_tips

🔻DISCLAIMER: This post is meant for the newbie crafters JUST TO HELP YOU GUYS OUT (I’m not a pro photographer, neither I’m in anyway related with photography other than taking a few pictures of my creations 😅)
I know a lot of you might already know about this better than me but I thought writing about it might help a few people out there.

⚫️DAYLIGHT PHOTOGRAPHY:
To understand the difference of the quality of the pictures, I would request you to take pictures both at night and during day time & compare it yourself! You’ll be amazed by how much daylight photography can portray the real beauty of your creations!

⚫️BACKGROUND: When you are taking flatlay pictures of your product, all you need to do is take a base of contrasting color. But if you want to take an upright photo, you need a contrasting background and a contrasting base.
I mostly like using white fabric as my backdrop, as I mostly like using bright colors for my craftwork. And I use a wooden printed paper as my base.
These contrasting background color helps to pop up the real color of the product.

⚫️PROPS: Adding props for every photoshoot is not mandatory.
I mostly add those colorful gems as my prop as it’s my job to highlight that product. But other than that you can use some light colored florals, leaves,crystals or the used supplies for that project as the props.

⚫️EDITING: I use “PS Express” to edit my photos.
I crop it to the correct size, increase the exposure, whiteness,vibrancy and saturation.
Editing helps to get more of a professional looking picture.
And if you didn’t know, editing pictures is highly encouraged by any and every design team.

So here’s my ‘very easy to follow’ simple photography tips for you today. Hope you guys will find these helpful and implement these on your own work.

P.s- I’ve attached the pictures of my own photography and the arrangement before the photoshoot 🤣(4th photo) (just so that you all can understand it better)
Thank you if you read the whole thing ❤️


                                                      Wider photo for youtube thumbnail
                                                      Arrangement before photoshoot
                                                            Simple closeup photo
Flatlay picture 

Thanks for visiting my blog. Hope you guys liked the card. To see more of my work, you can follow  me on INSTAGRAM and subscribe to my channel YouTube channel-CRAFTIVATION 
   And don’t forget to keep craftivating your dreams! ❤️


Saturday, August 24, 2019

Fall Themed Mixed Media Canvas

Hello Craftivators!

Today I’m back to inspire you guys with another mixed media project ( thankfully which isn’t blue, lol!). I tried to work with my favorite fall colors in this project and just love how it turned out out!

Some of the close up pictures-


Used supplies:

1. 6/6 inches canvas
2. Golden gesso
3. Camel texture white
4. Ranger by Tim Holtz Distress Ink
5. The Robin’s Nest Dewdrops
6. Chipboard cutouts
7. Foam flowers
8. Fabric  Flowers
9. Paper flowers
10. Distress spray stain
11. Glass vial
12. Clay key
13. Stencil
14. Sequins

Hope you guys will find this inspiring and try this out yourself!

Thanks for visiting my blog. Hope you guys liked the card. To see more of my work, you can follow  me on INSTAGRAM and subscribe to my channel YouTube channel-CRAFTIVATION


And don’t forget to keep craftivating your dreams! ❤️

Thursday, August 22, 2019

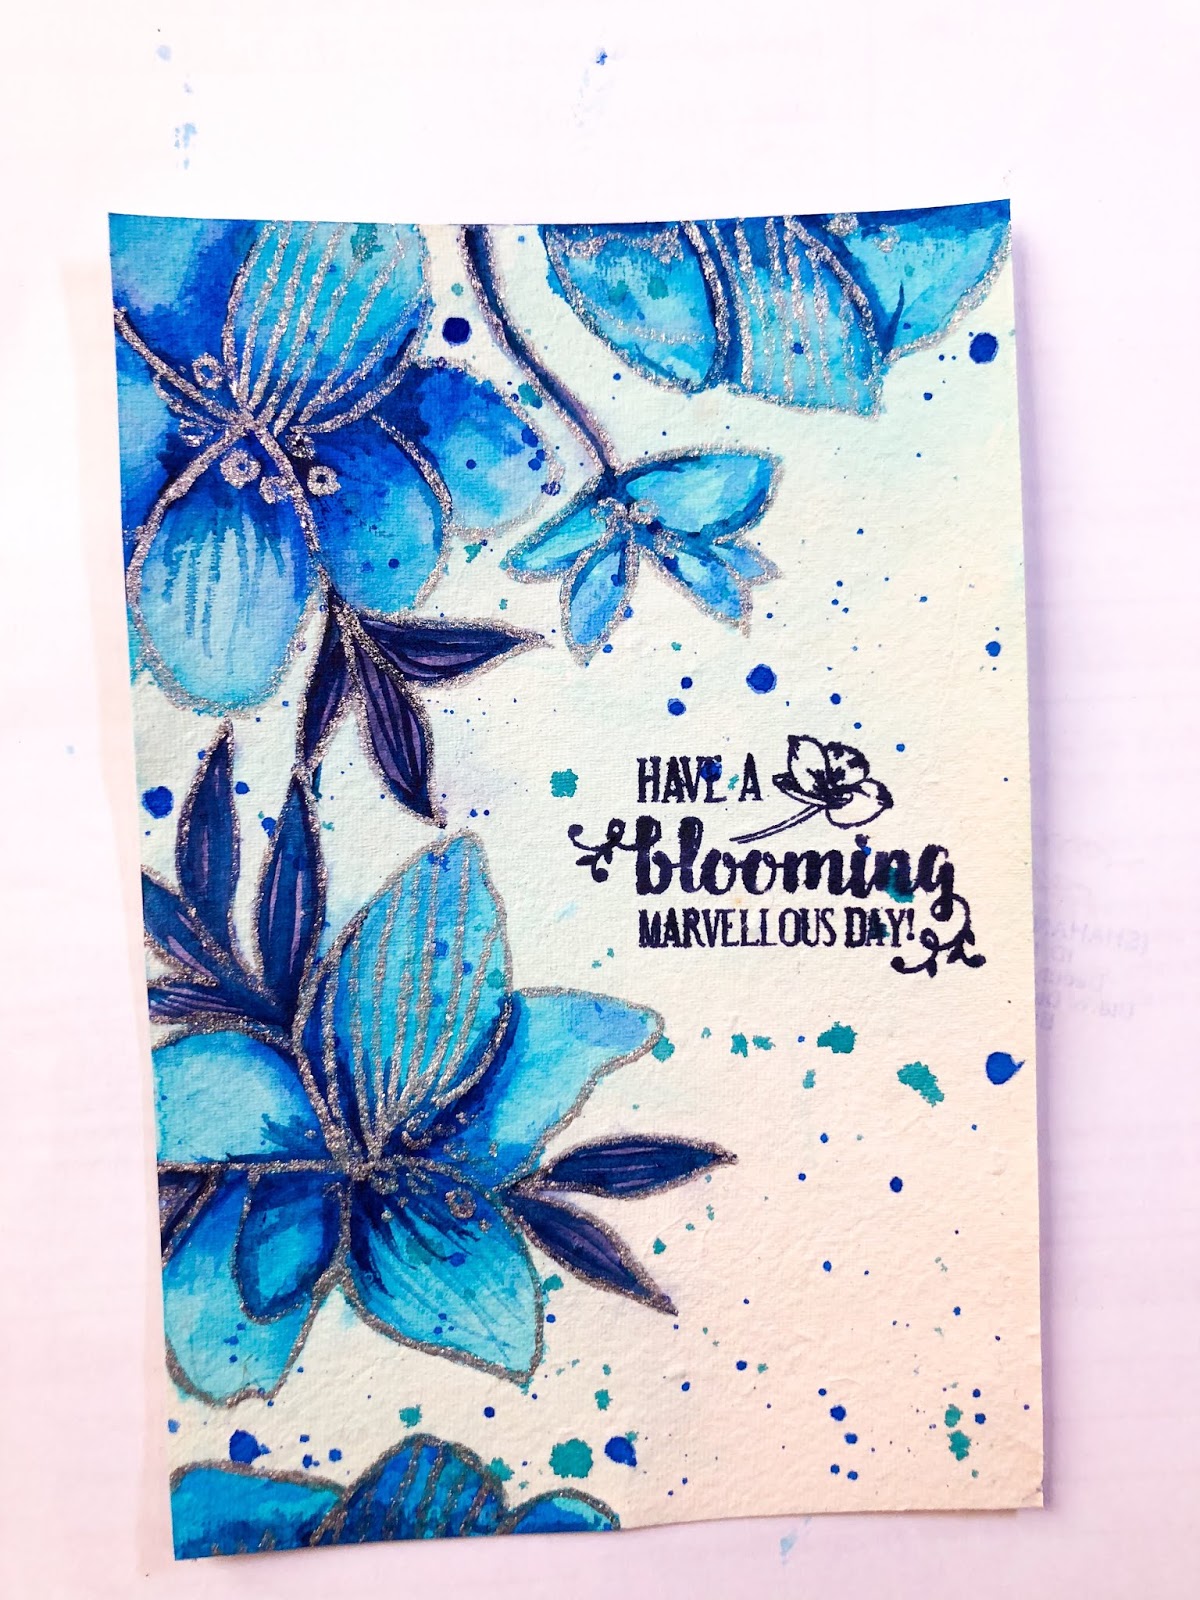
Hand-Drawn Watercolored Card

Hello Craftivators!

Today I’ll be sharing with you a simple yet elegant watercolored card.


Steps:

1. At first I randomly drew some flowers on watercolor paper.


2. Then I colored the background with a light wash of blue paint and started coloring the flowers.

3. I then added some details with a darker shade.

4. Splattered some blue ink, outlined the flowers and the leaves with a mixture of silver pigment powder & glue and then added a sentiment.

5. Then adhered the watercolored card panel over a slightly bigger card base.

6. Last but not the least, added some royal blue ‘The Robin’s Nest’ dewdrops!

Used Robin’s Nest Products:
1. Royal-Blue-Dew-Drops

Closeup pictures:


Thanks for visiting my blog. Hope you guys liked the card. To see more of my work, you can follow  me on Instagram  and subscribe to my channel YouTube channel-  Craftivation
And visit The Robin’s Nest Blog- The Chattering Robins

And don’t forget to keep craftivating your dreams! ❤️

Sunday, August 11, 2019

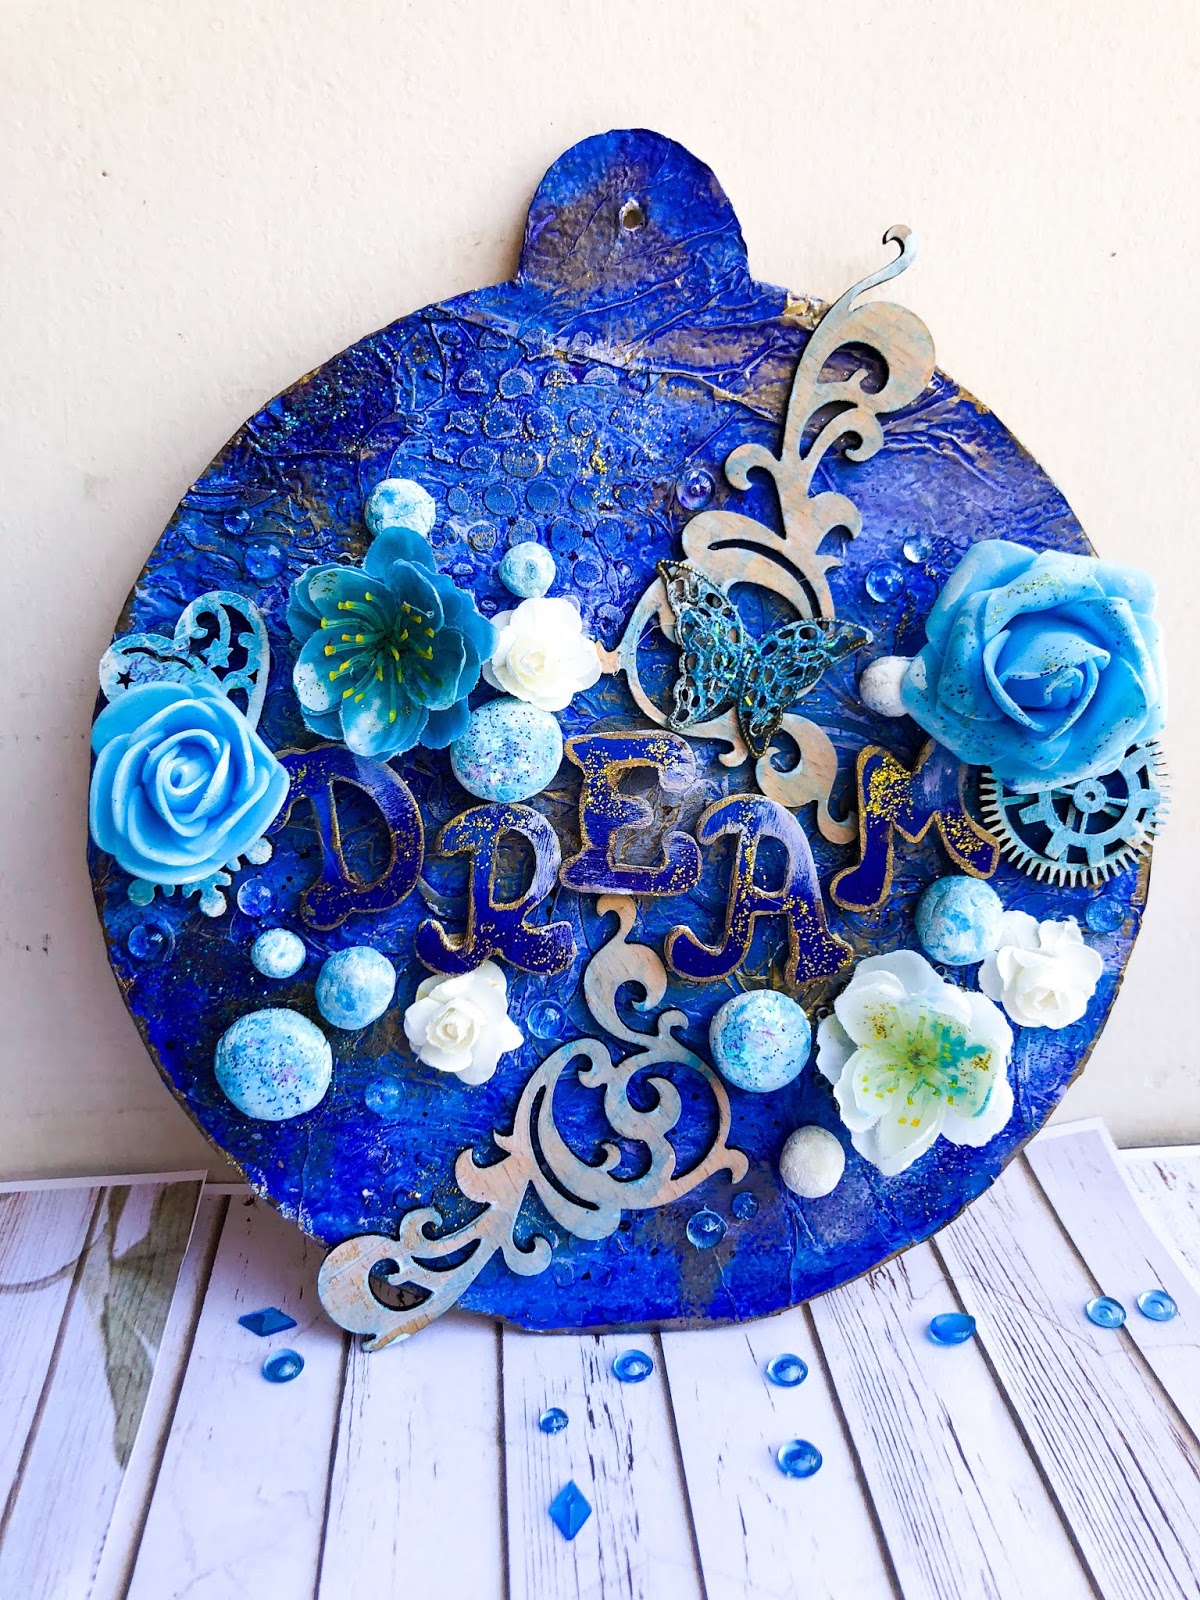
Mixed Media Altered Cake Tray

Hello Craftivators!

Today I’ll be sharing with you the video tutorial of my “Mixed Media Altered Cake Tray”. As blue is my favorite color, I love using it more in my projects.Through my projects I want people to learn how to turn even the most minute, random or unattractive piece of scrap/ household product/ junk into an attractive piece of art.
I want to help others find art in everything they see or find in their everyday lives and let people know that art lies within us, our way of thinking and our way of seeing.

To watch my YouTube video tutorial, please CLICK HERE .

Here are some close up pictures!


Used Dewdrops:


Thanks for visiting my blog. Hope you guys liked the card. To see more of my work, you can follow  me on Instagram  and subscribe to my channel YouTube channel- CRAFTIVATION

And don’t forget to keep craftivating your dreams! ❤️

Thursday, August 8, 2019

Scrapbook Layout Idea

Hello Craftivators!

Today is a bit different as I won’t be sharing any tutorial or step by step process pictures.
I’ll only be sharing the process in words and the complete picture of the layout.


Step by step process:

1. I started working on a 7/7 inches scrapbook page.

2. I sprayed the page lightly with water and added a couple of drops of violet and pink ink here and there and let it dry.

3. Then I stamped some of the spaces with jet black archival ink.

4. I had pre cut and watercolored flowers in my stash and I’ve also die-cutted some leaves, arrow, heart and random shape to go with the layout.

5. I adhered everything on the page with alcohol based uhu glue.

6. For the picture, I chose one of my childhood pictures and matted the picture with a purple cardstock.

7. Finally embellished the page with some Robin’s Nest dewdrops. And the layout is done!


Hope you guys liked the layout!


Thanks for visiting my blog. Hope you guys liked the card. To see more of my work, you can follow  me on Instagram and subscribe to my channel YouTube channel- Craftivation 
And visit The Robin’s Nest Blog- Chattering Robins

And don’t forget to keep craftivating your dreams! ❤️

Pink Floral ATC

Hello crafty friends!

Today I’ve come up with a simple yet beautiful technique to use dew drops even on small projects.
I’ll be using dewdrops on atcs ( artist trading cards).


Step by step process:


1. I took a 2.5/3.5 inches playing card and covered it with a while tissue paper.

2. Then I applied a layer of gesso over it.

3. I added a piece of gauze over it.

4. Sprayed some ‘picked raspberry’ distress spray stain.

5. Added a fabric flower on top and some sea green mirror paper leaves.

6. Added three pink dewdrops to create a visual triangle.

7. Finally added a quote, “ Live love laugh”.

Hope you guys will like this simple style of creating mixed media atcs.


                                          Links to The Robin’s Nest dewdrops:

                                               1. Neon-Pink-Mini-Dew-Drops

To see more of my work, you can follow  me on Instagram and subscribe to my channel YouTube channel- Craftivation 

Thank you so much for visiting the blog. Till next time, KEEP CRAFTIVATING YOUR DREAMS!

Sunday, July 14, 2019

Dewdrops Card For Robin’s Nest Design Team

Hello Craftivators!

Today we’ll be creating a simple but elegant card using The Robin’s Nest dewdrops to create the focal point. I designed a simple mandala with the dewdrops. You can find the process video on my YouTube channel or read the step by step process below. To find the YouTube video, please click here.


Step by step process:

1. At first I took a 6/6 top folding card base in white cardstock paper.


2. I selected a beige tone paper for my card base. It is 1cm smaller than the card base from 2 sides. 


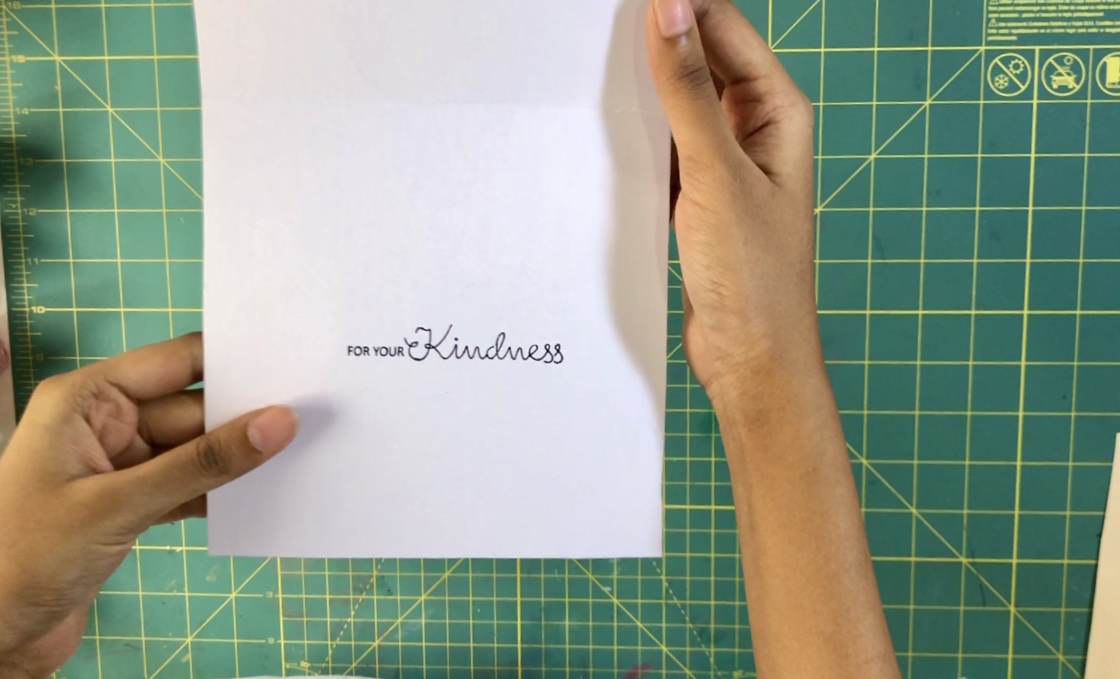
3. I stamped the desired sentiments with clear stamp and archival ink both on the cover and inside.  


4. These are my selected color of dewdrops that I’ll be using today for the card. These are amazing.


5. I started assembling the dewdrops from the center towards the end. I followed the complementary colors of the color wheel to make the card look more attractive . And finally the card is done. See how easy was it to make? Hope you guys will try it as well.


Finished product:


Link to The Robin’s Nest Shop:
Dew drops link:

Thanks for visiting my blog. Hope you guys liked the card. To see more of my work, you can follow  me on Instagram and subscribe to my channel YouTube channel- Craftivation 
And visit The Robin’s Nest Blog- Chattering Robins

And don’t forget to keep craftivating your dreams! ❤️

Monday, July 1, 2019

Victory Day Mixed Media Tag

Hello Craftivators!
Today I’ll be sharing with you guys a Victory Day Special Mixed Media Tag! It’s not a pictorial post but rather just an inspirational post, just to help you guys with some ideas.
But to see the video tutorial, you can visit my YouTube channel.


Used supplies:
1. Cardstock tag
2. Chipboard embellishment 
3. Acrylic paint 
4. Tissue paper 
5. Mod podge/ white glue
6. Local ink 
7. Distress ink by Tim Holtz Ranger 
8. Sequins
9. Bird cutout from adult coloring book 
10. Ribbon
11. Eyelet

12. Quilling paper 


Close up picture:


Thanks for visiting my blog. Hope you guys liked the card. To see more of my work, you can follow  me on INSTAGRAM and subscribe to my channel YouTube channel-CRAFTIVATION 


And don’t forget to keep craftivating your dreams! ❤️

Monday, June 3, 2019

Blue Mixed Media Tag

Hello Craftivators!

Today I’ll be sharing with you my step by step procedure of making a mixed media tag.
As blue is my favorite color, I ended up using it yet again on my project.
You can also watch the video tutorial on YouTube.


Step by step process:


1. At first I took a manila tag by Rangers.


2. Covered the tag with printed tissue paper.


3. Adding some texture with Golden Crackle Paste.


4. Applying a layer of Golden Gesso.


5. Coloring certain spaces with Ranger Tim Holtz Distress Spray Stain (broken china).


6. Sticking the elements together.


7. Finally tied a ribbon and distressed the edge and the tag is done!


Final images
:


Thank you for visiting my blog!

If you want to see more of my work, follow me on Instagram.
And subscribe to my YouTube channel. Click Here.


Saturday, May 4, 2019

Heart Card

Hello craftivators!

I’m back again with an awesome heart card. You guys can totally try it out and gift it to your loved ones. I created this card back in February as my entry for a valentine’s day contest. And yay! I have won the second prize for it. I used pabeo paints for the first time to create the heart which is the focal point of the card. I just love the cool texture of it and love the look of it.

Procedure:

1. At first I folded a black cardstock paper for the card base and glued a piece of corrugated card board as the card panel, slightly smaller than the card base.

2. I took a piece of clear acetate sheet and cut it into a heart shape.

3. I then coloredthe heart with pabeo paints and added some bronze lines with golden acrylic paint of bronze shade over it to create some texture.


4. Then I wrote a sentiment on a black cardstock strip and layered it on the card with a small piece of distressed musical note. 

5. Finally I adhered every elements on the card panel. Thus, the card is done.


I hope you guys liked the card and will try to recreate this with your own little twists.

If you want to keep yourself updated about what I would be doing next, make sure to follow me on Instagram and do subscribe to my YouTube channel.


Thank you for visiting my blog!